Source image preparation
Best photo settings for clean tattoo stencils
A converter can make better decisions when the subject is sharp, evenly lit, tightly cropped, and distinct from its background.
Use even, directional light
Soft, even light preserves shape without creating hard accidental edges. Avoid a bright window behind the subject, mixed color temperatures, and small harsh lights that produce deep shadows. For drawings or flash, photograph the page squarely with light reaching both sides. For three-dimensional references, keep enough directional shading to explain form without losing the dark side.
Keep the important edges sharp
Tap or focus on the subject, hold the camera steady, and use the original image rather than a compressed screenshot when possible. Motion blur and heavy noise create uncertain boundaries. More pixels do not repair an image that was out of focus, but a clean high-resolution source gives fine contours more room to survive editing and export.
Crop before adjusting contrast
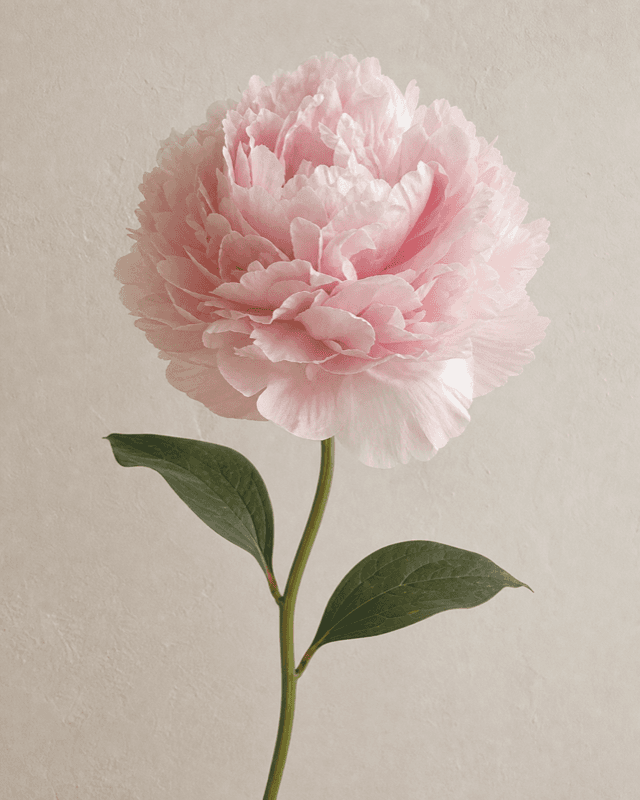
Remove walls, furniture, clothing texture, neighboring objects, and unused page area before tuning the stencil. A tight crop gives the subject more resolution and reduces irrelevant contours. Set rotation at the same time so the finished design can be judged in its intended composition.
Protect highlights and shadows
Avoid pushing contrast so far that light areas disappear and dark areas merge. The converter needs visible boundaries between adjacent forms. If the source is flat, make a small exposure or contrast adjustment that separates the subject from the background. Save stronger line decisions for the stencil controls, where you can see the direct effect on the output.
Source image checklist
- The subject is in focus at the edges that define its form.
- Lighting is even enough to preserve both highlights and shadows.
- The crop removes most unrelated background texture.
- The image is oriented the way you want to evaluate it.
- The original file is used instead of a repeatedly compressed copy.
Match detail to the final size
A large back piece and a small ankle design should not preserve the same amount of texture. Review the source near the intended transfer size. If two fine details already merge in the photo, they are unlikely to become clearer in the stencil. Simplify before export rather than expecting the printer to separate them.
Tune the stencil in a consistent order
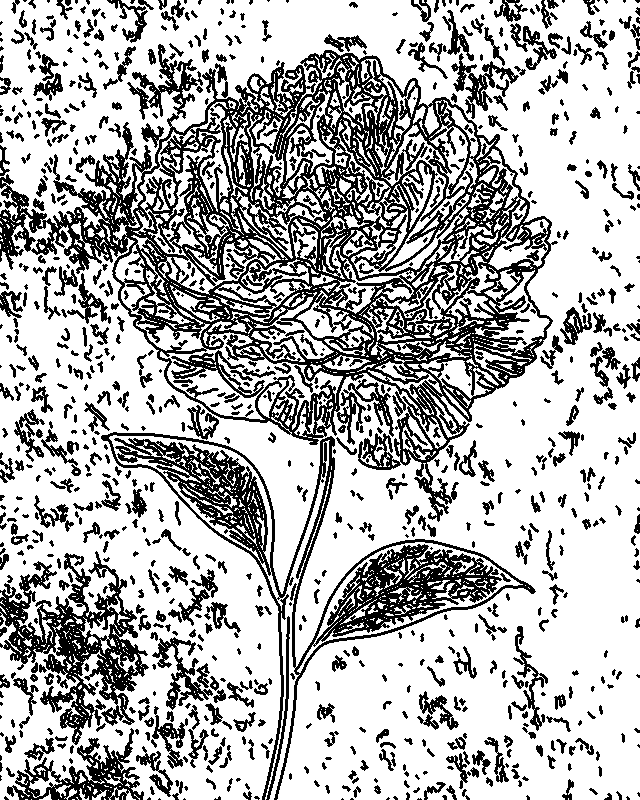
After the source is prepared, choose the line style, confirm crop and rotation, adjust exposure, control detail, then set ink strength. Changing one type of control at a time makes the result easier to understand and repeat. Finish by checking the thinnest lines and smallest gaps at output size.